


Welcome everyone! Tons of fun going on today and lots to share so grab a coffee and enjoy! This is part of a fabulous blog hop which I will have your next stop listed at the end of the post. If you came here from the amazingly talented Mona Toth, you are in the right place! Otherwise you can start at the beginning over at the Thermoweb blog.
VIDEO DETAILS
I have a video tutorial showing you how to use the new release from Thermoweb and Gina K Designs. You can view it down below or HERE on my Youtube channel.

CARD DETAILS
Stamp n Stencil is so much fun as you may gather from my post today. I couldn’t just create one card. I created quite a few and they are so quick and easy! With the Stamp n Stencil designs, you can either stamp the layering image or stencil it in with inks or Glitz Glitter Gel.
I have tons of details about the cards over in my video so be sure to check it out HERE.
My first card is creating beautiful Fall cards with the trees from the Autumn Wishes stamp set. I stamped the trees in Honey Mustard and Chocolate Truffle ink and die cut using the coordinating die. I find it much easier to work with the stencils when the images are cut out.


For my leaves, I applied Pumpkin Spice and Gold Glitz Glitter Gel to create some gorgeous Fall colors!
The background was created by ink blending Fired Brick, Ripe Persimmon and Wild Honey Distress Oxide Inks using Life Changing Blender Brushes.

For my second card, I used the same colors for the tree trunks and leaves.
For the background this time, I stenciled on the Thick Brush Stencil onto Coral Reef card stock with Tomato Soup Ink. I trimmed the panel down to 2 1/4″ x 3 1/2″, layered onto White card stock measuring 4 3/4″ x 3 1/2″ and added to an A2 size notecard made from Coral Reef card stock.

I love tiny sentiments and created this one by heat embossing it with Gold Embossing powder onto Chocolate Truffle card stock. The sentiment came from the Mini Hugs stamp set from Gina K Designs.
Seriously, how gorgeous are those leaves?!

My next card is really quick and simple. I stamped the Autumn Wishes sentiment across a piece of Jelly Bean Green card stock using a Comfort Block. Then trimmed the panel down to 3 1/2″ x 5 1/2″ and added to a white panel cut to 3 3/4″ x 5 1/2″. My panels are added to an A2 size card base made from Jelly Bean Green card stock.

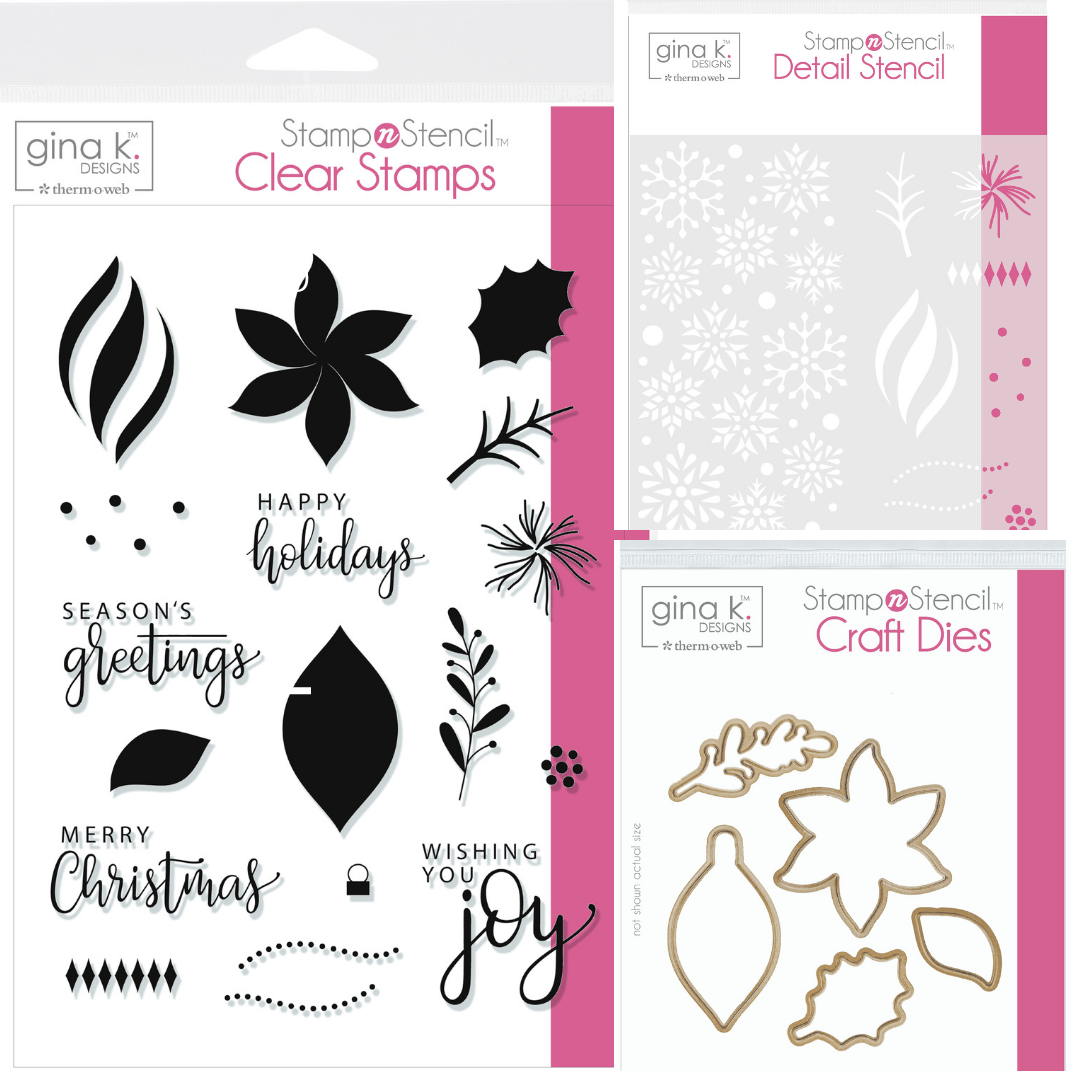
Also new this month from Gina K Designs and Thermoweb is the Wishing You Joy Stamp n Stencil set. This also has a coordinating die you can purchase, which I totally recommend. The dies make it so much easier to line up images and stencils.
While there are many images on this beautiful 6″ x 8″ stamp set, I’m working with the ornaments today. I stamped one out in Jelly Bean Green ink and one is Raging Red Electro Pop Ink. After die cutting out the images, I placed the die cuts back into the negative space, holding in place from the back with purple tape.
I lined up the stencil design and added Holiday Pine Glitz Glitter Gel to the green ornament and Gold Glitz Glitter Gel to the red ornament.

For the background, I used the snowflake design on the stencil. I blended it onto a piece of Powder Blue card stock that I later trimmed down to 3 1/4″ x 4 1/2″ and added to a white panel measuring 3 3/4″ x 5″ .

I also used Powder Blue card stock for a card base. It such a gorgeous blue!
I have a ton more details in my video on how I created everything so be sure to head to my Youtube channel.
NEXT STOP!
You’re next stop in the hop is going to be Chrissie Tobas.
GIVEAWAY
Leave comments along the way for a chance to win the giveaway!


Here’s a closer look at the products I used. Below is Wishing You Joy.

This is Autumn Wishes.


SUPPLIES
Affiliate links are used at no additional cost to you.

