
Welcome everyone! I have a fun technique to share today using Distress Spray Stains and Stencils. This is one of those times when you just sit down with a bunch of ink and have fun! No two cards will ever come out the same which makes it even more magical.

I will start out with Tim Holtz Distress Watercolor cardstock and the Butterfly Stained Glass Stencil from Hero Arts. I chose this cardstock because it will handle all the liquid that I will be applying to it. My panel is trimmed to 4 1/4″ x 5 1/2″ and I taped my stencil to the cardstock from behind using Purple Tape from Thermoweb. You could spray it with Pixie Spray too. Either one of the these will work, you just want to make sure your stencil is secured to the cardstock.

Next I’m going to use a spatula and apply Distress Texture Paste to my stencil.

After I let my background dry, I am going to spray it with multiple colors of Distress Spray Stain. As you are pressing the nozzle down, you want to sweep across you cardstock. This will really spread out the color and not center it like a bullseye in one spot. My first sweep is with Picked Raspberry.

My second sweep is Wild Honey which will mix with the Picked Raspberry to make Orange.
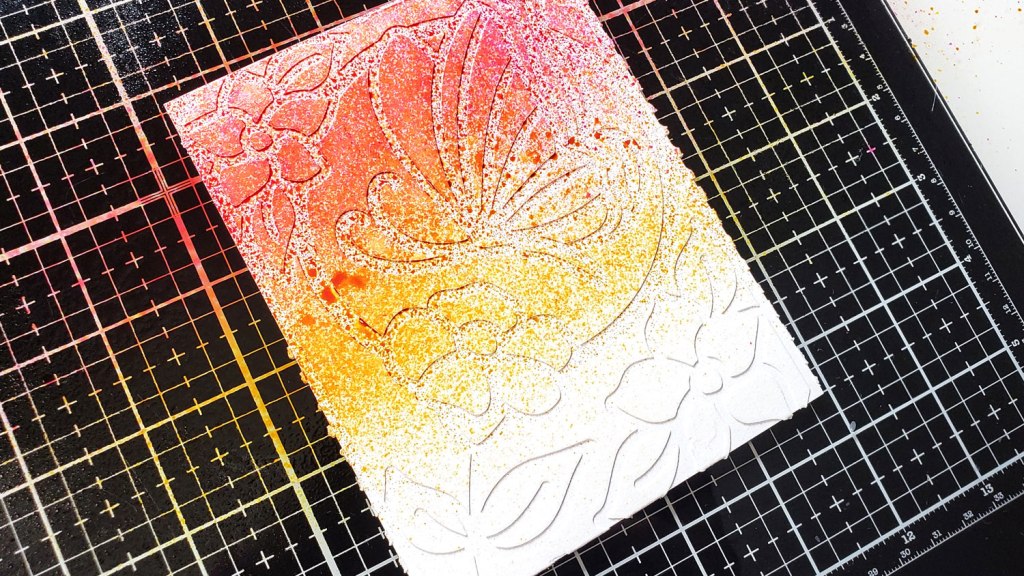
My bottom sweep is using Salty Ocean which will mix with the Wild Honey to make a shade of green. I’ll also spritzing some of the Salty Ocean in one of the top corners to make a shade of Purple. I’ll dry this first layer and come back and spritz some more color around.

After my color is dry, I’m going to spritz clean water onto my background with a mister bottle. Then I will dab a paper towel over it and it will pick up some of that color. You can see on the right I have almost an exact print of my background. You could make multiple backgrounds for cards if you picked up the ink with a thin sheet of cardstock or even typing paper.

I continue spritzing with clean water and dabbing up the color until I’m happy with the results. To really make the colors pop, I trimmed my panel down to 3 3/4″ x 5″ and added to a white A2 size card base. I love the thick white margin to draw attention to my colors.

I finished off the card by adding a sentiment that is heat embossed in White embossing powder onto Black cardstock. The Heart Tree stamp set has some beautiful, encouraging messages that I think any recipient would enjoy.
I’m definitely going to playing with these Spray Stains some more. I love the vibrancy of the colors and this background came together really quick. I hope you’ll give this technique a try.
SUPPLIES
Below you will find links to the products used. Click the icon to start shopping. Compensated Affiliate links are used at no additional cost to you. Your support helps me to keep bringing you new projects and videos. Thank you!


Mindy,
I like your distress ink spray card. I used to use Heidi Swapp spray, but they no longer make it.
I have not tried these, but distress ink spray should be better. I will keep an eye out for your next card and see how you like them. Thanks.